How it works
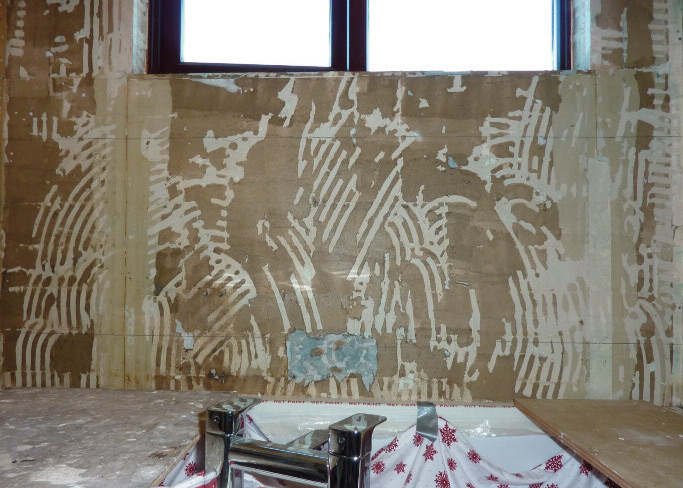
When the new bathroom is installed and all plumbing in place, walls prepared for tiling/decorating you are almost ready to start tiling. It is advisable to disconnect and remove the toilet, basin and pedestal, etc. Fitted furniture with basin can be left in situ. You can now prime the walls to be tiled.
If there is to be a border tile or halve tiling, this is normally 1.2 m high. In this case mark the wall 1.2 m of the floor. Now check if any cuts you have to make e.g. floor, ceiling, top of bath/shower tray, worktop, top and bottom of window reveals and any boxing. It is difficult to cut a tile less than say 25 mm also will not look aesthetically pleasing. To work out your cuts use the tile and mark from the line including border tile and spacers up to the ceiling and down to the floor or make a measuring rod marking out the tiles plus spacers. When you are happy with the cuts, mark your line on the walls to be tiled, if not raise or lower border tile position.
 It is best to start at the bath. The bath rim is not always level or flat, so it is not advisable to work off the bath with a full tile. From your line on the wall, using your measuring rod or by measurement i.e. place a few tiles on the floor with spacers and measure.
 Come down by full tiles before reaching the top of the bath and mark a line on all walls to be tiled. This second line is the first row of full tiles above the bath. This is your datum line which is for guidance only.
 Now you need to work out where to start. Best to find the centre of the wall, use a tile or measuring rod and mark the wall from the centre to the corner and see if the cuts are acceptable. If not make the centre line the centre of tile and see if this gives you a better cut. On this job we worked from the left hand side of window (allowing for out of true reveal). If using mosaics as a border, please read Tip 7.
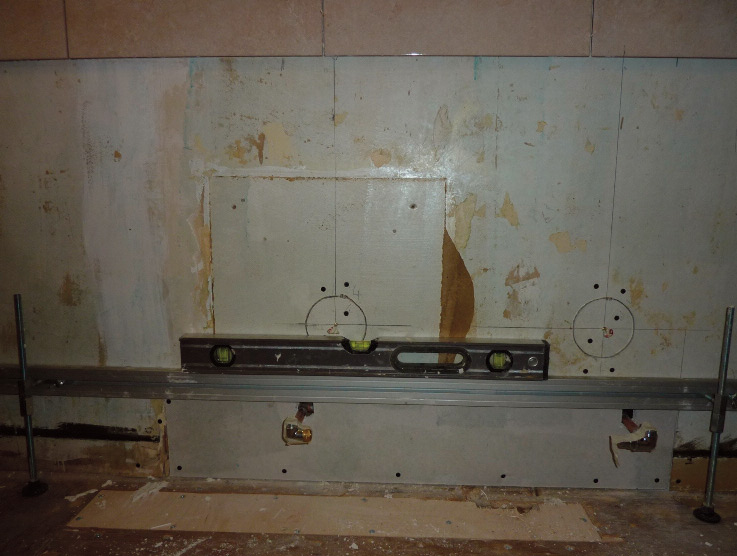
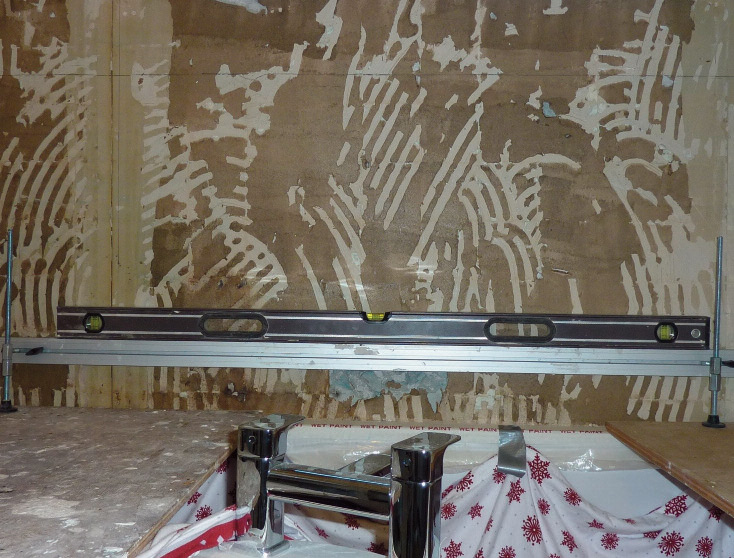 Now, place the T.M. on the bath and adjust legs, so that top edge is level with your datum line. You must check with a spirit level, the line is only for guidance. Place a couple of dabs of tile adhesive on the back of the T.M. to stabilize while adjusting and fixing 1st row of tiles.
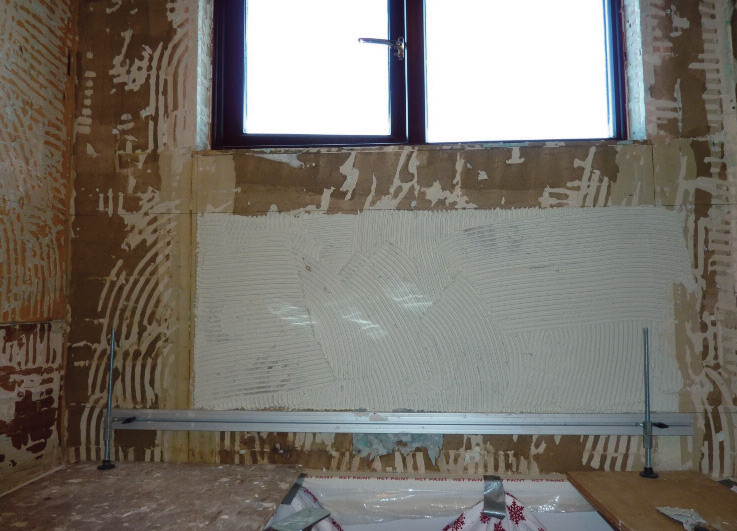 You can now apply adhesive onto the wall using a notched trowel. Do not apply more than 1m² of adhesive at a time.
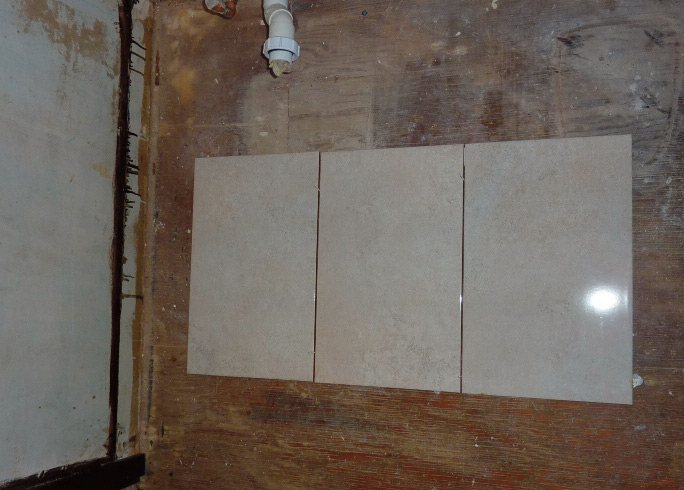
 Place tile on the T.M. and start from your line. Tap gently to ensure good contact with the wall and ensuring even gap off the wall, unless you need to level out. Continue tiling along the wall making sure that tiles are level with each other to form a flat surface and using spacers.
W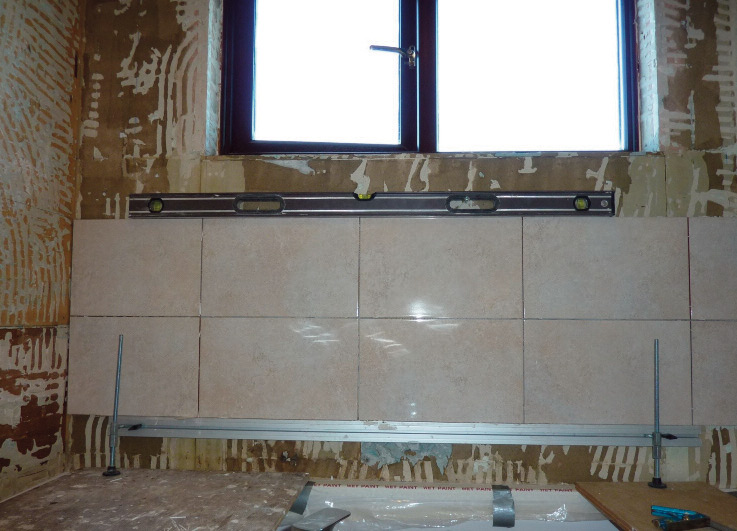 hen first row is completed, you can pencil time of day on the tile, so that after an hour or so you can remove the Tile Master and start on another wall. To tile past end of bath fit leg extensions. Tip 9. You can now apply adhesive onto the wall using a notched trowel. Do not apply more than 1m² of adhesive at a time.
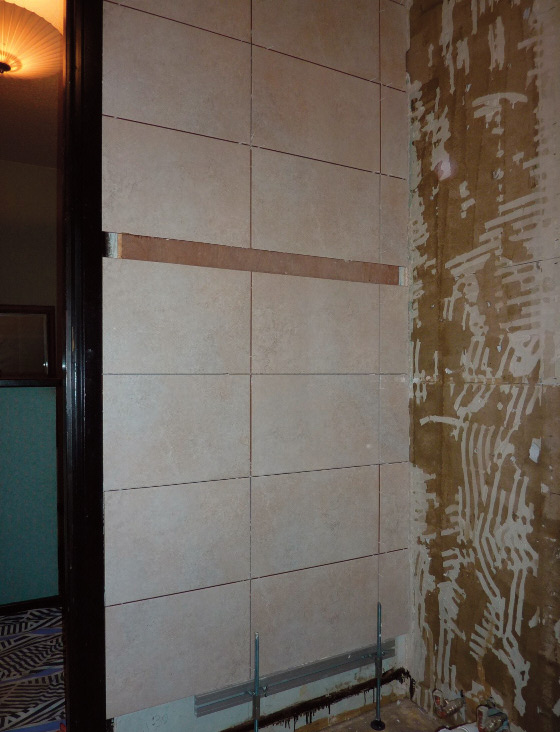
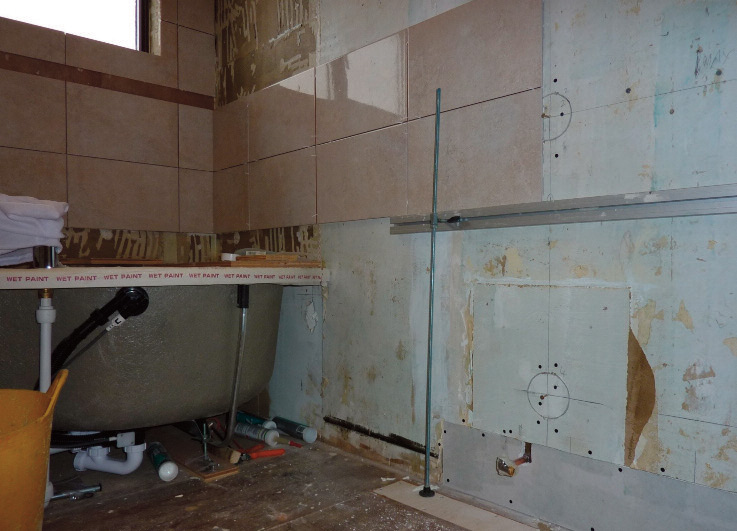
When you have completed the first row across the wall check for level and readjust legs if necessary. Loosen wing nuts and readjust legs. It is best to lift the T.M. while adjusting the leg. Start the 2nd row and continue right up to the ceiling. If you plan the job, you should be able to tile the first row all the way around the bathroom. This gives a level line of tiles to work off to complete all tiling up to the ceiling.
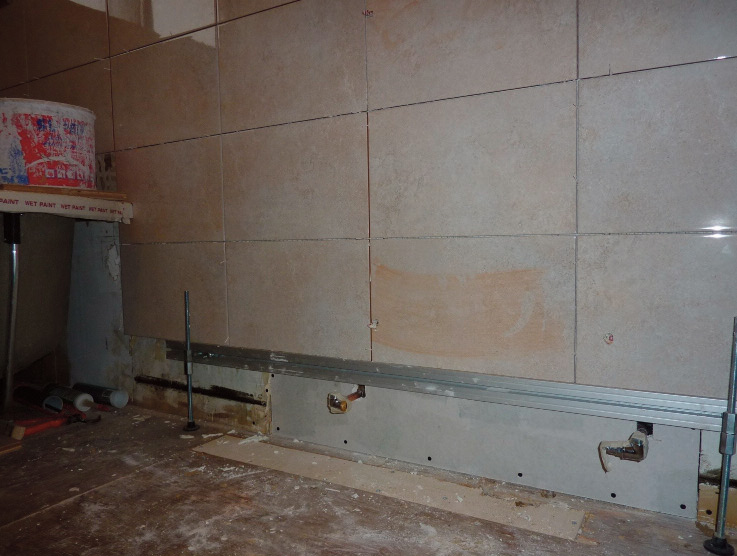 When you have completed all the tiling above the datum line, you can start tiling down to the floor. Once again you can use the T.M. by measuring down from the bottom edge of the tile which is fixed on the datum line. Mark the wall with a line which will be the lowest full tile before the floor.
Adjust the T.M. off the floor and just under your marked line. Trowel on adhesive and fix tiles either end up to and in line with previously fixed tiles. You can now adjust the Tile Master, so that the tiles with spacers are a snug fit and finish tiling.
Remove the T.M. when tiles are set and tile down to the floor. 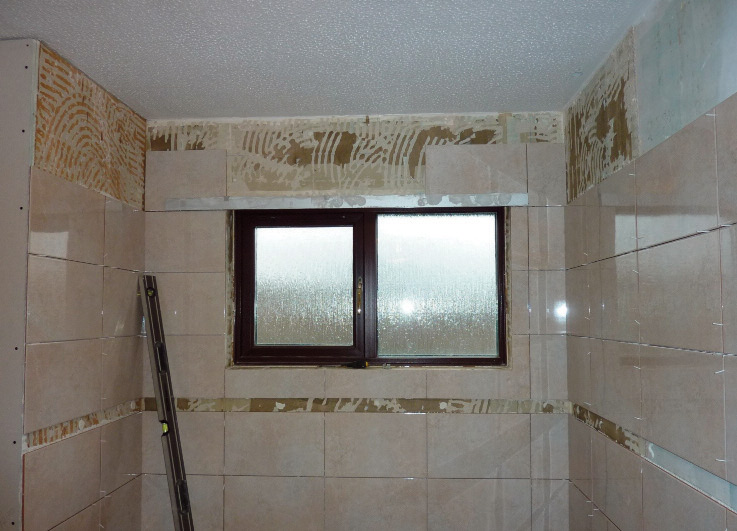 Tip 5. When you have finished tiling on both sides of the window reveal, you are ready to tile above the window reveal. Tip 6. Fit the horizontal leg attachments onto the T.M. Slide the permanently fitted rubber foot about 100 mm from end of T.M. and tighten thumb screw.
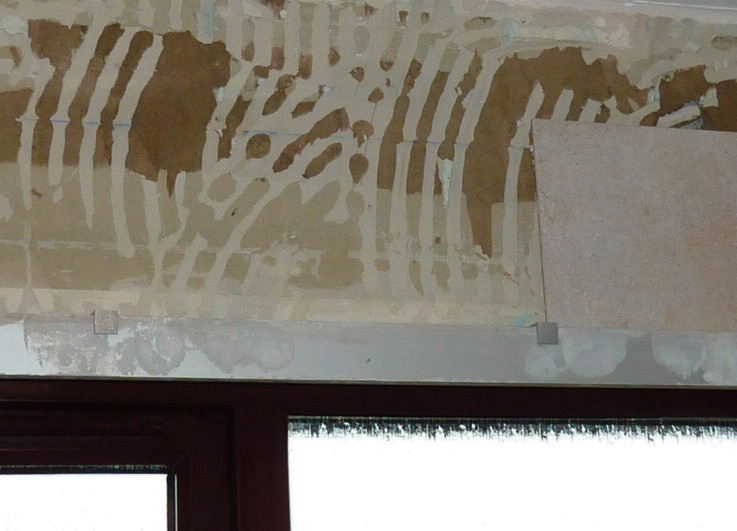 Slide the articulating foot on the other end, adjust so that the feet on the T.M. fits within the window reveal, place tile supports on the T.M., nibs facing the window.
Tip 7. Best to tape tile supports to the Tile Master, nibs facing window to avoid them falling off while adjusting between window reveal. Using a spanner adjust the articulating foot against side of window reveal, so that the top of tile supports are in line with the bottom edge of tiles on either side of reveal. Make sure the T.M. is flat against the tiles. Complete tiling above window and up to the ceiling. Tile inside window reveal, using corner trims and when set proceed with the grouting.
Tip 8. Only fix one row of tiles above window. Allow to dry before continuing up to the ceiling.
- When fixing heavy natural tiles, only fix one row of tiles on to the T.M. and allow to dry approximately 1h 30mins before tiling the next row or use extra legs max. span 1m/1.2 m.
- Where top of bath or shower tray are not flat or too narrow to take the levelling feet, use 2x strips of 18mm ply 200mm wide across the bath/shower to form a base for the levelling feet. The ply can be clamped down on to the outer rim of the bath/shower or a block screwed on the under side of ply tight against the side of bath.
- For lower support use the T.M. without legs, using packers for adjustment.
- Best to adjust legs before fixing to the T.M. Screw on the vertical leg slider onto the leg/extension and start rotating the leg in a circular motion until the fitting spin down to roughly correct height. Final adjustment when the T.M. is in situ.
- After removing the Tile Master use the bottom edge of tiles on the wall to transfer a level line across to adjacent or opposite wall.
- When tiling either side of window reveal it is crucial that the tiles are level and also the gap above the window reveal is the same as below the window i.e. when tiling above the window reveal the distance between the tiles will accept the remaining tiles including spacers. Always measure to check distance at bottom of window as you tile either side to the top of window.
- When using mosaics strips as a border. It is advisable to use ply or timber strips, width to be height of border tile plus 2x spacers.
- When positioning the T.M. above reveal, don’t worry if not exactly in line with fixed tiles. You can use packing between supports and tiles to level tiles so that they line up with tiles on either side of window reveal.
- Always check with a spirit level when first row of tiles are fixed. You can readjust legs if necessary. Best to lift the T.M. as you are adjusting the legs.
- Always clean equipment with a sponge and only use a flexible scraper to remove dried adhesive.